IIS stands for Internet Information Service. It is basically a web server created by Microsoft available by default in Windows.
Let’s see how can we deploy a site on IIS locally :
1/ Installing IIS on Windows
Search IIS on your windows and check does IIS showed up or not. In case if it did not appear then we need to enable it.
Follow these steps to enable IIS on your windows :
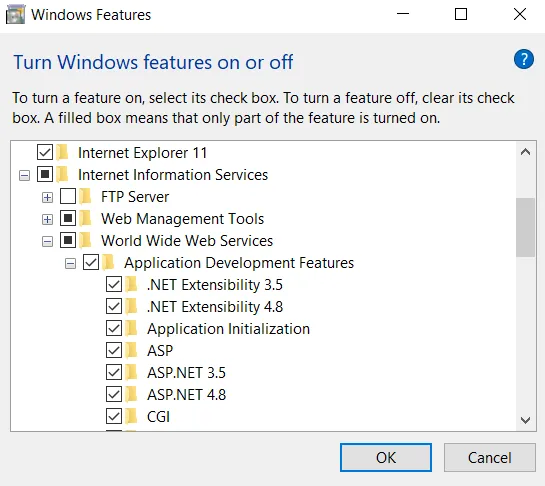
Open control panel → Uninstall a program → Turn windows features on or off
Now enable Internat Information Service box and then enable ASP.NET(if not enabled automatically) options in Worldwide Web Services like this :
Now when you search IIS you would see it and you can open it and you would see some interface like this :

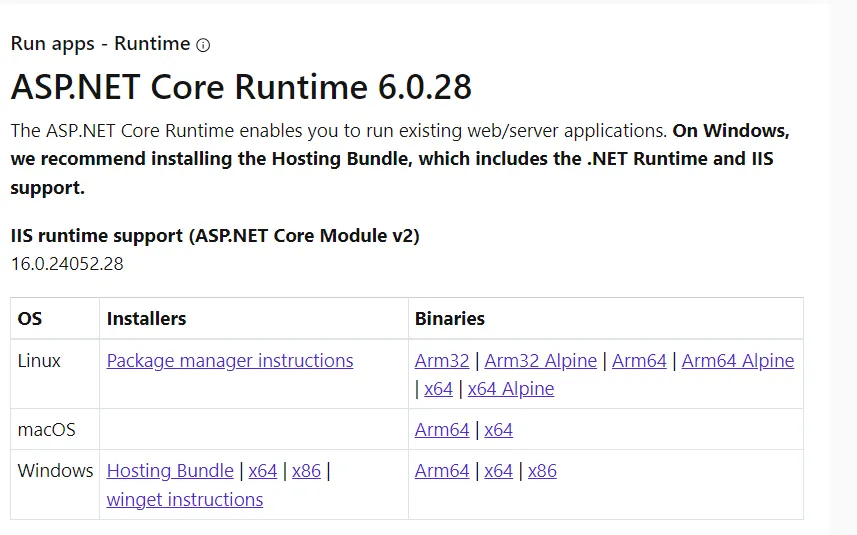
2/ Install Host Bundle of your App .NET Version
ASP.NET Core Hosting Bundle contains everything you need to run existing web/ server apps.
First check .NET version of your application that you are going to deploy. Follow these steps to check version :
→ Open solution explorer of project → Right click on project → Open properties
Now install hosting bundle according your .NET version.
For example for our current demo I am going to use .NET 6 web API so I have installed this :
How to check if hosting bundle is already installed or not
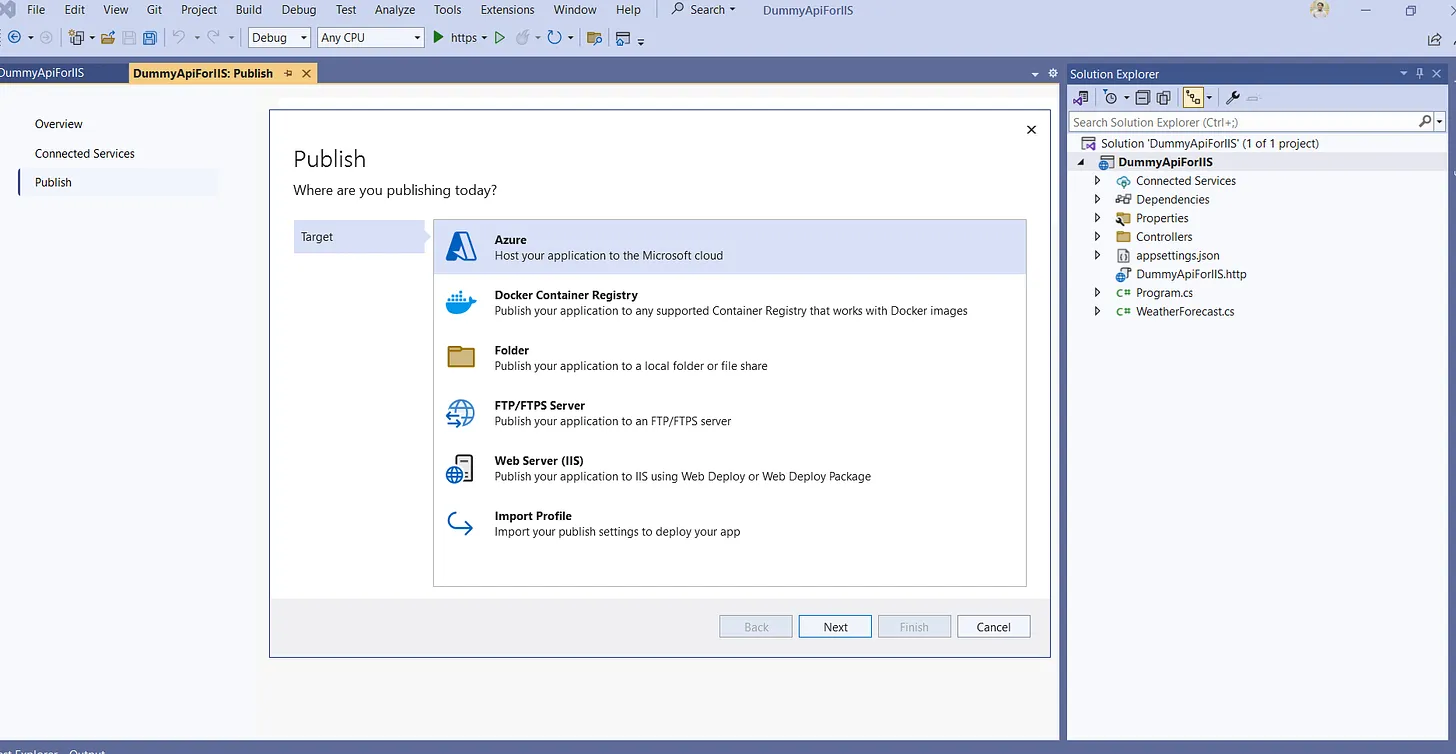
3/ Publish your .NET application and get DLLs ready
You have got a lot of code in .cs files, we need to convert them into forms which are understandable by our server. This is what Publish do in Visual Studio.
→ Open solution explorer of project → Right click on project → Click on publish
From above picture now go with Folder option and select your desired folder where you wanna put your dll files, click on publish and wait until you get following message in output :
Web App was published successfully file://….
4/ Open IIS and Deploy your Site
We have got our dlls now let’s move to our server and put our files. Right now our machine/laptop is acting like a server.
Open IIS (By searching) → Click on sites → Add website
Now fill the necessary information
-
Add site name
-
Select a default app pool. App pool is kind of grouping we define for our sites.
-
Select your folder where you saved your dlls.
-
It is better to put your site dlls in this folder → C:\inetpub\wwwroot, if you are interested to learn WHY this question could be helpful
-
Put port number. Make sure it is not being used by any other project locally.
You are good to go now, your website should appear under sites now.
To open website click on Browse website on right side.
5/ Solving Insufficient Permissions Issue
Sometimes we can face permissions problem, due to which web config file does not read properly and results in site not working with a error of something like this :
Internal Server Error - Can not read configuration file due to insufficient permissions
Copy your folder and take it following folder and paste it :
→ C:\inetpub\wwwroot
But this does not solve the problem. Now come out and right click on wwwroot folder and open its properties.
Go to security tab and edit the permissions and add a new user with this name : IIS_IUSRS and give it full control.
Save it and assign IIS_IUSRS to this folder or just give full control permissions.
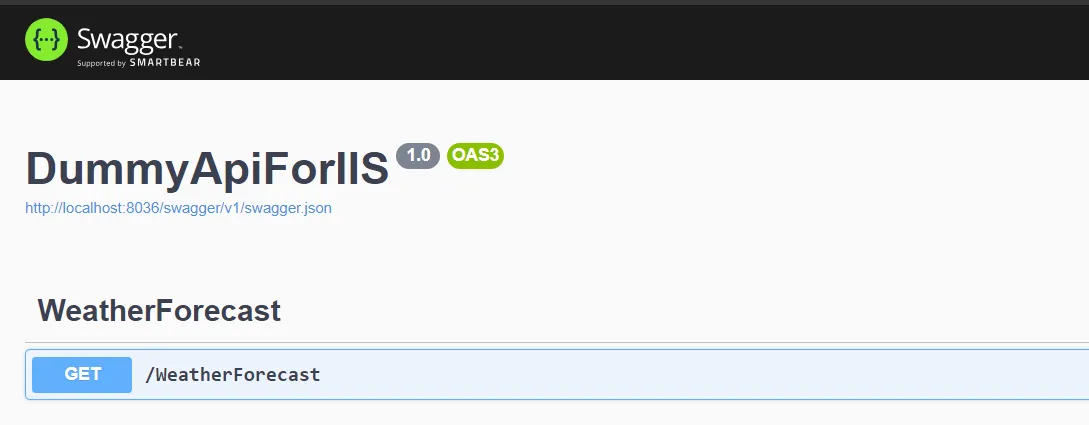
Apply changes, save and go back to browser and refresh it and add “/swagger” in the URL and you would see this UI.
Are you interested to learn that how you can share this locally deployed site to somewhere across the internet ? If yes let me know in comments, I will try to cover it in upcoming newsletter. Stay awesome until next Saturday :)
Whenever you're ready, there are 3 ways I can help you:
- Subscribe to my youtube channel : For in-depth tutorials, coding tips, and industry insights.
- Promote yourself to 9,000+ subscribers : By sponsoring this newsletter
- Patreon community : Get access to all of my blogs and articles at one place